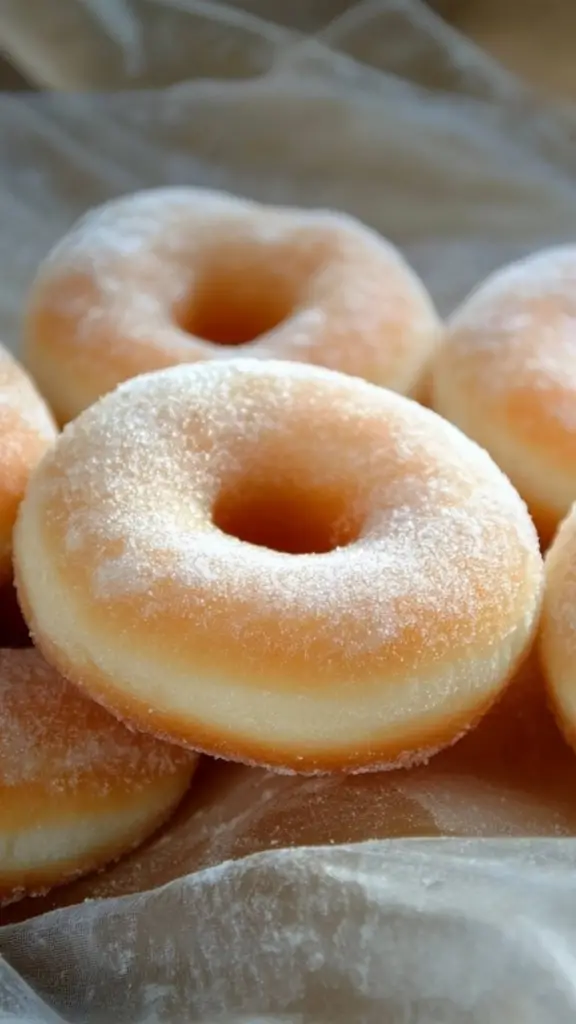
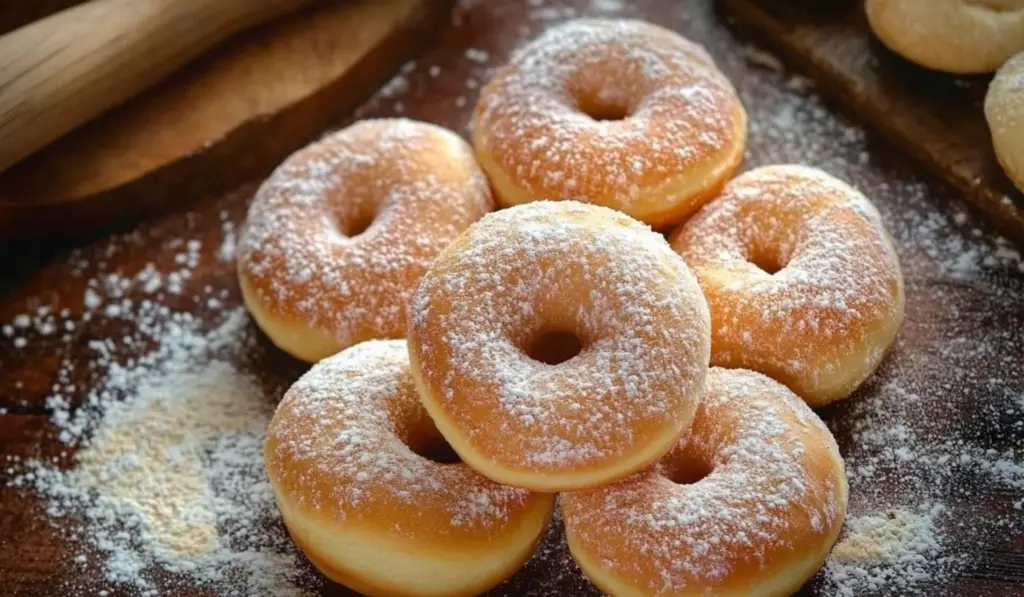
There’s something irresistibly comforting about homemade doughnuts. The aroma that wafts through the kitchen as they fry, the warm and fluffy texture, and the satisfying sweetness of sugar coating each bite—these delights are more than just a treat; they’re an experience. Yeast doughnuts hold a special place in the hearts of many, reminiscent of cozy mornings, special gatherings, or simply indulging in a moment of culinary bliss.
PrintPerfect Yeast Doughnuts: A Classic Indulgence for Every Occasion
There’s something irresistibly comforting about homemade doughnuts. The aroma that wafts through the kitchen as they fry, the warm and fluffy texture, and the satisfying sweetness of sugar coating each bite—these delights are more than just a treat; they’re an experience. Yeast doughnuts hold a special place in the hearts of many, reminiscent of cozy mornings, special gatherings, or simply indulging in a moment of culinary bliss.
- Prep Time: 30 minutes (plus 1 hour 30 minutes rise time)
- Cook Time: 15 minutes
- Total Time: 2 hours 15 minutes
- Yield: 16 doughnuts
- Category: Dessert, Snack
- Method: Frying
- Cuisine: American
- Diet: Vegetarian
Ingredients
For the Dough
- Water (6 tablespoons or 90 ml): Essential for activating the yeast, providing the right hydration for the dough.
- Buttermilk (5 ounces or 150 ml): The secret to adding a tangy flavor and soft crumb to the doughnuts.
- Egg (1 large, beaten, at room temperature): Provides structure and richness to the dough.
- Butter (2 ounces or 57 grams, melted): Adds a layer of buttery goodness that enhances the dough’s flavor and texture.
- All-purpose or bread flour (16 ounces or 454 grams): The structural backbone of the doughnuts, ensuring the perfect balance of elasticity and fluffiness.
- Sugar (2 ounces or 57 grams): Adds sweetness to the dough and aids in browning during frying.
- Salt (1 teaspoon): Balances the sweetness and enhances the overall flavor.
- Yeast (1 ½ teaspoons or 5 grams): The driving force behind the dough’s rise, giving it its signature airy texture.
For Frying and Coating
- Oil (sunflower or grapeseed): Neutral-tasting oil ideal for deep frying due to its high smoke point.
- Sugar: For rolling the freshly fried doughnuts to create that classic sugary coating.
Optional Fillings
- Jam, chocolate hazelnut spread, or whipped cream: Add an extra layer of indulgence to your doughnuts with these fillings.
Instructions
1. Preparing the Dough
Bread Machine Method
Begin by adding the wet ingredients—water, buttermilk, beaten egg, and melted butter—to the bread machine pan. Next, layer the dry ingredients (flour, sugar, and salt) on top. Create a small indentation in the center of the dry mixture and add the yeast. Select the “dough” setting on your bread machine and let it work its magic.
Stand Mixer or Hand Method
Dissolve the yeast in lukewarm water and allow it to activate. You’ll know it’s ready when it forms a frothy layer on the surface. In a large bowl, combine the dry ingredients. Make a well in the center and gradually add the buttermilk, beaten egg, melted butter, and the yeast mixture. Using a stand mixer fitted with a dough hook, knead the mixture until a smooth dough forms. Alternatively, knead by hand for about 10 minutes, ensuring the dough becomes soft and elastic.
2. First Rise
Transfer the dough into a greased bowl and cover it with a clean kitchen towel or plastic wrap. Let it rise in a warm, draft-free spot until it doubles in size. This process typically takes 1–2 hours, depending on the yeast’s freshness and the room’s temperature.
3. Shaping the Doughnuts
Once the dough has risen, transfer it to a lightly floured surface. Divide it into two portions to make handling easier. Roll out one portion at a time to about ½-inch thickness. Using a round cutter, cut out doughnut shapes. For classic doughnuts, use a smaller cutter to create the center hole. Save the cut-out holes for frying as mini doughnut bites. For filled doughnuts, skip the hole and roll the dough into smooth balls.
4. Second Rise
Place the shaped doughnuts on individual squares of parchment paper and transfer them to a baking sheet. For the second rise, place the tray in a warm oven. To create a humid environment, pour boiling water into a heatproof jug and place it alongside the doughnuts. Allow them to rise until doubled in size, which usually takes 30–45 minutes.
5. Frying the Doughnuts
Heat oil in a deep fryer, wok, or heavy-bottomed pot to a consistent temperature of 350°F (180°C). If you don’t have a thermometer, test the oil with a doughnut hole: it should sizzle gently and turn golden brown in about a minute. Carefully lower the doughnuts into the oil using the parchment paper to avoid splashing. Fry them in small batches, cooking for about 1–2 minutes per side. Once golden brown, remove them with a slotted spoon and drain on paper towels.
6. Coating and Filling
While the doughnuts are still warm, roll them in granulated sugar for the classic coating. If filling, allow the doughnuts to cool slightly before using a skewer to create a hole. Pipe jam, Nutella, or whipped cream into the center for a delightful surprise.
Notes
- Accurate Measurements: Using a kitchen scale ensures consistency, particularly with the flour.
- Warm Environment for Rising: Yeast thrives in warmth, so choose a cozy spot for proofing your dough.
- Oil Temperature Matters: Maintaining a consistent frying temperature prevents greasy or undercooked doughnuts.
- Don’t Overcrowd the Pot: Frying too many doughnuts at once can lower the oil temperature, affecting the texture.
This recipe for Perfect Yeast Doughnuts delivers a flawless batch every time. Whether you’re crafting these for your family, friends, or yourself, this detailed guide will walk you through every step, ensuring bakery-quality results at home. From achieving the perfect dough texture to mastering frying techniques and exploring creative variations, this recipe covers it all.
Ingredients Breakdown
For the Dough
- Water (6 tablespoons or 90 ml): Essential for activating the yeast, providing the right hydration for the dough.
- Buttermilk (5 ounces or 150 ml): The secret to adding a tangy flavor and soft crumb to the doughnuts.
- Egg (1 large, beaten, at room temperature): Provides structure and richness to the dough.
- Butter (2 ounces or 57 grams, melted): Adds a layer of buttery goodness that enhances the dough’s flavor and texture.
- All-purpose or bread flour (16 ounces or 454 grams): The structural backbone of the doughnuts, ensuring the perfect balance of elasticity and fluffiness.
- Sugar (2 ounces or 57 grams): Adds sweetness to the dough and aids in browning during frying.
- Salt (1 teaspoon): Balances the sweetness and enhances the overall flavor.
- Yeast (1 ½ teaspoons or 5 grams): The driving force behind the dough’s rise, giving it its signature airy texture.
For Frying and Coating
- Oil (sunflower or grapeseed): Neutral-tasting oil ideal for deep frying due to its high smoke point.
- Sugar: For rolling the freshly fried doughnuts to create that classic sugary coating.
Optional Fillings
- Jam, chocolate hazelnut spread, or whipped cream: Add an extra layer of indulgence to your doughnuts with these fillings.
Step-by-Step Instructions
1. Preparing the Dough
Bread Machine Method
Begin by adding the wet ingredients—water, buttermilk, beaten egg, and melted butter—to the bread machine pan. Next, layer the dry ingredients (flour, sugar, and salt) on top. Create a small indentation in the center of the dry mixture and add the yeast. Select the “dough” setting on your bread machine and let it work its magic.
Stand Mixer or Hand Method
Dissolve the yeast in lukewarm water and allow it to activate. You’ll know it’s ready when it forms a frothy layer on the surface. In a large bowl, combine the dry ingredients. Make a well in the center and gradually add the buttermilk, beaten egg, melted butter, and the yeast mixture. Using a stand mixer fitted with a dough hook, knead the mixture until a smooth dough forms. Alternatively, knead by hand for about 10 minutes, ensuring the dough becomes soft and elastic.
2. First Rise
Transfer the dough into a greased bowl and cover it with a clean kitchen towel or plastic wrap. Let it rise in a warm, draft-free spot until it doubles in size. This process typically takes 1–2 hours, depending on the yeast’s freshness and the room’s temperature.
3. Shaping the Doughnuts
Once the dough has risen, transfer it to a lightly floured surface. Divide it into two portions to make handling easier. Roll out one portion at a time to about ½-inch thickness. Using a round cutter, cut out doughnut shapes. For classic doughnuts, use a smaller cutter to create the center hole. Save the cut-out holes for frying as mini doughnut bites. For filled doughnuts, skip the hole and roll the dough into smooth balls.
4. Second Rise
Place the shaped doughnuts on individual squares of parchment paper and transfer them to a baking sheet. For the second rise, place the tray in a warm oven. To create a humid environment, pour boiling water into a heatproof jug and place it alongside the doughnuts. Allow them to rise until doubled in size, which usually takes 30–45 minutes.
5. Frying the Doughnuts
Heat oil in a deep fryer, wok, or heavy-bottomed pot to a consistent temperature of 350°F (180°C). If you don’t have a thermometer, test the oil with a doughnut hole: it should sizzle gently and turn golden brown in about a minute. Carefully lower the doughnuts into the oil using the parchment paper to avoid splashing. Fry them in small batches, cooking for about 1–2 minutes per side. Once golden brown, remove them with a slotted spoon and drain on paper towels.
6. Coating and Filling
While the doughnuts are still warm, roll them in granulated sugar for the classic coating. If filling, allow the doughnuts to cool slightly before using a skewer to create a hole. Pipe jam, Nutella, or whipped cream into the center for a delightful surprise.
Tips for Perfect Doughnuts
- Accurate Measurements: Using a kitchen scale ensures consistency, particularly with the flour.
- Warm Environment for Rising: Yeast thrives in warmth, so choose a cozy spot for proofing your dough.
- Oil Temperature Matters: Maintaining a consistent frying temperature prevents greasy or undercooked doughnuts.
- Don’t Overcrowd the Pot: Frying too many doughnuts at once can lower the oil temperature, affecting the texture.
Flavorful Variations
Cinnamon Sugar Doughnuts
After frying, roll the doughnuts in a mixture of sugar and ground cinnamon for a spiced twist.
Glazed Doughnuts
Whisk together powdered sugar, milk, and vanilla to create a smooth glaze. Dip the cooled doughnuts, letting the excess drip off for a glossy finish.
Chocolate Doughnuts
Melt dark or milk chocolate and dip the tops of the doughnuts for a rich coating. Add sprinkles, crushed nuts, or coconut shavings for added texture.
Filled Doughnuts
Experiment with different fillings such as lemon curd, pastry cream, or berry compote for a gourmet touch.
Serving Suggestions
Doughnuts shine brightest when served fresh and warm. Pair them with a steaming cup of coffee, tea, or hot chocolate for a cozy breakfast or an indulgent afternoon treat. For a celebratory spread, arrange doughnuts on a dessert platter with various toppings, fillings, and dipping sauces, allowing guests to customize their own creations.
Storing and Reheating Tips
While doughnuts are best enjoyed fresh, they can be stored in an airtight container at room temperature for up to two days. To revive their texture, warm them briefly in the microwave or oven. For longer storage, freeze the doughnuts and reheat them in the oven to restore their softness and flavor.

The Joy of Homemade Doughnuts
There’s a certain magic to making doughnuts at home. From kneading the dough to watching them puff up during frying, every step is a labor of love. The result? A plate of golden, sugar-dusted treats that bring smiles with every bite. Homemade doughnuts not only taste better than store-bought versions but also offer the opportunity to customize and experiment with flavors, making them uniquely yours.
Whether you’re baking for a special occasion, treating your family, or indulging in a personal project, these yeast doughnuts are worth the effort. Their light and fluffy texture, combined with endless topping and filling possibilities, guarantees they’ll become a favorite in your repertoire.


