I remember the first time I made homemade hot chocolate. It was a snowy evening, and I wanted to create a cozy atmosphere for my family. The rich, velvety drink warmed us from the inside out, and the aroma filled our home with comfort. This Homemade Hot Chocolate recipe is perfect for beginner cooks. It requires minimal ingredients, simple stovetop cooking, and creates a delicious, comforting drink in just 15 minutes. It’s a guaranteed crowd-pleaser and a delightful treat for any chilly day. If you’re looking for an easy, indulgent, and classic winter beverage, this homemade hot chocolate is your perfect solution. It offers a delightful balance of rich chocolatey flavor and creamy texture, making it a perfect treat for any gathering. It’s a fantastic addition to your repertoire of quick and easy drinks, especially when you need a warm and comforting treat.
Homemade Hot Chocolate: A Warm Embrace in a Mug
Homemade Hot Chocolate is a classic winter beverage made with milk, chocolate, and sugar. It’s a simple, comforting drink perfect for beginner cooks.
- Prep Time: 5 minutes
- Cook Time: 10 minutes
- Total Time: 15 minutes
- Yield: 2 cups 1x
- Category: Beverage
- Method: Stovetop, Heating, Mixing
- Cuisine: American
Ingredients
- 2 cups milk
- 1/4 cup semi-sweet chocolate chips
- 2 tablespoons cocoa powder
- 1 tablespoon brown sugar
- Pinch of salt
- 1/2 teaspoon vanilla extract
Instructions
-
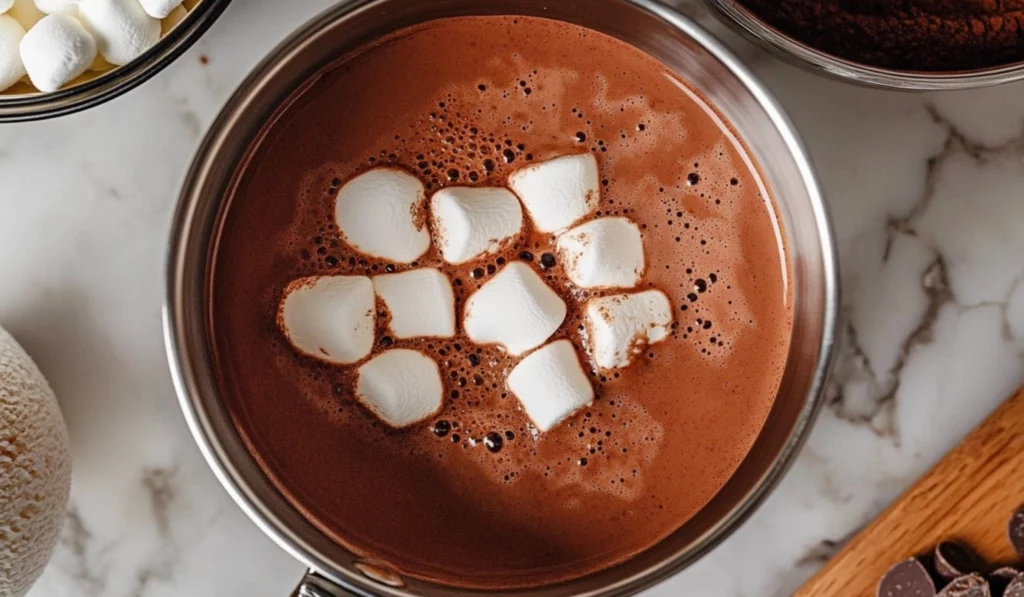
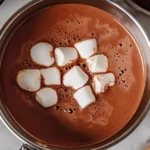
Combine Ingredients: To a saucepan, add milk, chocolate chips, cocoa powder, brown sugar, and salt. Using a saucepan ensures even heating of the ingredients.
-
Heat Over Low-Medium Heat: Place the saucepan over low-medium heat. Gentle heating prevents scorching the milk and chocolate.
-
Whisk Occasionally: Whisking occasionally, allow the milk to warm and the chocolate chips to melt. Continue whisking until the mixture is warm and steamy, not boiling, and homogenous. Whisking ensures a smooth and consistent mixture.
-
Heat Until Steamy: This should take about 10 minutes or so. Heating until steamy ensures the chocolate is fully melted and incorporated.
-
Remove from Heat: Take the pan off the burner and add the vanilla. Removing from heat prevents the vanilla from evaporating and losing its flavor.
-
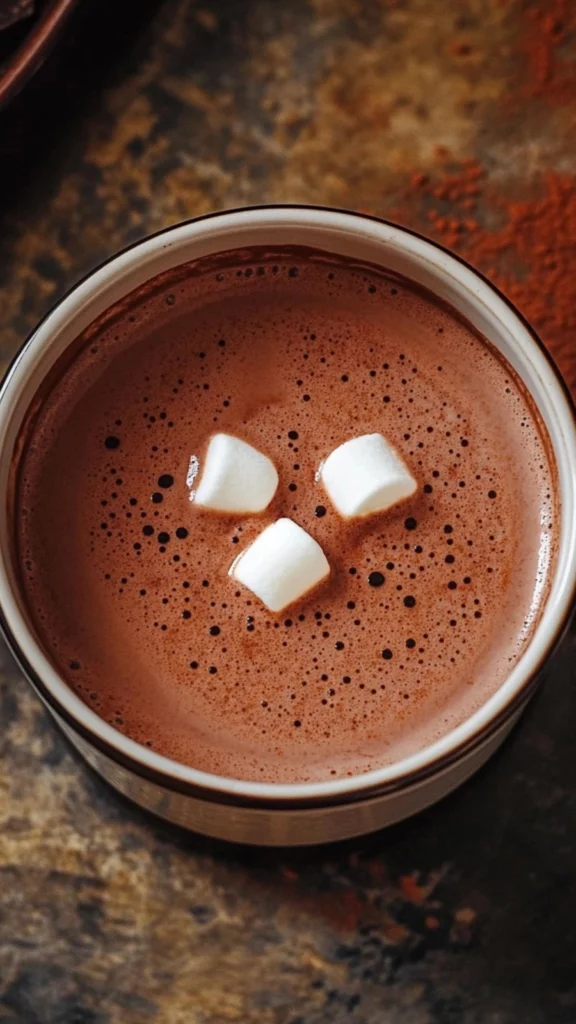
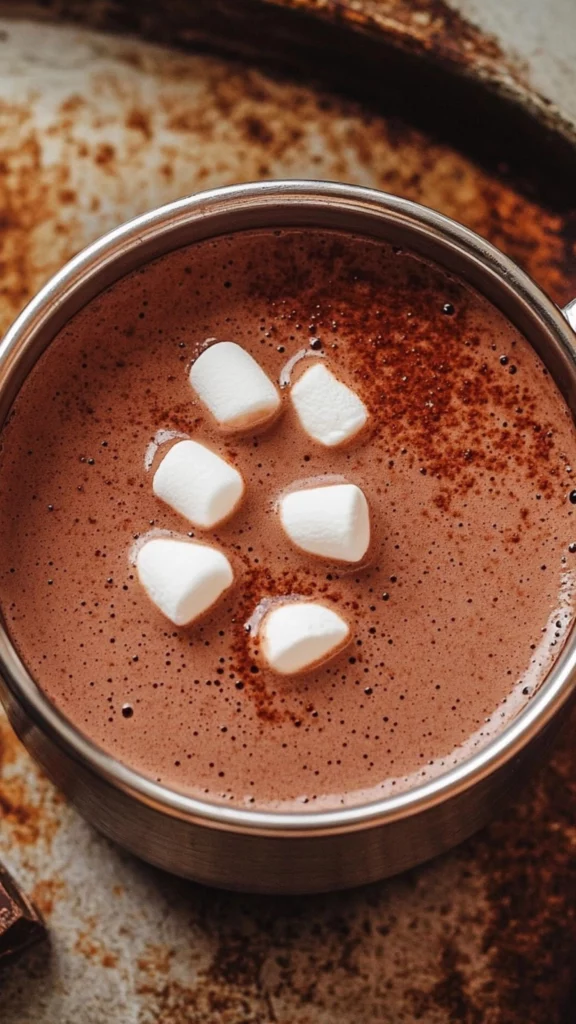
Serve Warm: Serve warm with whipped cream or marshmallows! Serving immediately ensures the hot chocolate is at its best temperature.
Notes
- Use whole milk for a richer flavor.
- Whisk frequently to prevent scorching.
- Adjust sweetness to taste.
- Get creative with toppings and flavorings.
Ingredients and Preparation: Your Hot Chocolate Arsenal – The Building Blocks of Flavor
This Homemade Hot Chocolate is wonderfully simple, but the quality of the ingredients matters. Remember, the key to stress-free beverage making is having all your ingredients and tools ready before you start preparing. This preparation ensures a smooth and enjoyable process. It also prevents you from forgetting a crucial ingredient mid-assembly.
The Liquid Base: The Foundation of Warmth – The Creamy Canvas:
- 2 cups milk – Provides the creamy base. Alternatives: You can use whole milk for a richer flavor, 2% milk for a lighter option, or non-dairy milk like almond, oat, or soy for a vegan version. Milk provides the base for the drink.
The Chocolate Components: The Heart of the Flavor – The Rich Indulgence:
- ¼ cup semi-sweet chocolate chips – Adds sweetness and chocolatey flavor. Alternatives: You can use milk chocolate chips for a sweeter drink, dark chocolate chips for a richer flavor, or even chopped chocolate bars. Semi-sweet chocolate chips provide a classic flavor.
- 2 tablespoons cocoa powder – Intensifies the chocolate flavor. Alternatives: You can use Dutch-processed cocoa powder for a smoother, less acidic flavor. Cocoa powder adds depth to the chocolate flavor.
The Sweeteners and Seasonings: The Finishing Touches – The Harmonious Accents:
- 1 tablespoon brown sugar – Adds sweetness and a hint of molasses. Alternatives: You can use granulated sugar, maple syrup, honey, or even a sugar substitute. Brown sugar adds a warm sweetness.
- Pinch of salt – Enhances the flavors. Alternatives: A tiny pinch of sea salt adds a unique touch. Salt balances the sweetness.
- ½ teaspoon vanilla extract – Adds a warm, aromatic note. Alternatives: You can use almond extract, peppermint extract, or other flavor extracts. Vanilla extract adds a smooth flavor.
Step-by-Step Instructions: Your Guide to Hot Chocolate Perfection – Easy and Clear
- Combine Ingredients: To a saucepan, add milk, chocolate chips, cocoa powder, brown sugar, and salt. Using a saucepan ensures even heating of the ingredients.
- Heat Over Low-Medium Heat: Place the saucepan over low-medium heat. Gentle heating prevents scorching the milk and chocolate.
- Whisk Occasionally: Whisking occasionally, allow the milk to warm and the chocolate chips to melt. Continue whisking until the mixture is warm and steamy, not boiling, and homogenous. Whisking ensures a smooth and consistent mixture.
- Heat Until Steamy: This should take about 10 minutes or so. Heating until steamy ensures the chocolate is fully melted and incorporated.
- Remove from Heat: Take the pan off the burner and add the vanilla. Removing from heat prevents the vanilla from evaporating and losing its flavor.
- Serve Warm: Serve warm with whipped cream or marshmallows! Serving immediately ensures the hot chocolate is at its best temperature.
Beginner Tips and Notes: Your Kitchen Companion – Helpful Advice and Hacks
- Troubleshooting: Hot Chocolate Problems Solved:
- Lumpy Cocoa Powder: Whisk the cocoa powder with a small amount of milk before adding the rest. Pre-mixing cocoa powder prevents lumps.
- Scorched Milk: Use low-medium heat and whisk frequently. Gentle heating and frequent whisking prevent scorching.
- Thin Hot Chocolate: Add more chocolate chips or cocoa powder. Adding more chocolate thickens the drink.
- Overly Sweet Hot Chocolate: Add a pinch of salt or a splash of milk. Salt balances the sweetness, and milk dilutes the sugar.
- Prep Efficiency: Time-Saving Strategies:
- Measure Ingredients Ahead: Measure all ingredients before heating. Pre-measuring saves time during cooking.
- Use a Whisk: A whisk ensures a smooth mixture. A whisk prevents lumps.
- Use a Milk Frother: A milk frother creates a frothy texture. A milk frother adds texture.
- Use a Double Boiler: A double boiler prevents scorching the chocolate. A double boiler provides gentle heating.
- Tool Substitutions: Making Do with What You Have:
- No Saucepan: Use a deep skillet or a pot. A skillet or pot can be used for heating.
- No Whisk: Use a spoon or a fork. A spoon or fork works as alternatives.
- No Measuring Spoons: Use a regular spoon or your best judgment. Estimation can be used in a pinch.
- No Vanilla Extract: Omit if necessary, or use another extract. Other extracts can be used for flavor.
- Flavor Boosters: Adding Your Personal Touch:
- Add Cinnamon: A sprinkle of cinnamon adds warmth. Cinnamon adds a warm spice.
- Add Peppermint Extract: A few drops of peppermint extract add a refreshing twist. Peppermint extract adds a refreshing flavor.
- Add Marshmallows: Add mini marshmallows for a classic touch. Marshmallows add a classic sweetness.
- Add Whipped Cream: Top with whipped cream for added richness. Whipped cream adds a creamy topping.
Serving Suggestions: Elevating Your Hot Chocolate Experience
This Homemade Hot Chocolate is a delightful treat on its own, but you can enhance the experience with complementary sides and toppings.
- Sides: A Perfect Pairing:
- Cookies: Serve with your favorite cookies. Cookies complement the hot chocolate.
- Brownies: Serve with warm brownies. Brownies add a rich chocolate pairing.
- Pastries: Serve with croissants or muffins. Pastries add a warm, flaky side.
- Toast: Serve with cinnamon toast. Cinnamon toast adds a warm, spiced side.
- Toppings: A Flavor Boost:
- Whipped Cream: Top with homemade whipped cream. Whipped cream adds a creamy topping.
- Marshmallows: Add mini or large marshmallows. Marshmallows add a sweet topping.
- Chocolate Shavings: Sprinkle with chocolate shavings. Chocolate shavings add a rich topping.
- Caramel Sauce: Drizzle with caramel sauce. Caramel sauce adds a sweet, sticky topping.
- Sprinkles: Add colorful sprinkles. Sprinkles add a fun, colorful topping.
- Storage: Keeping Leftovers Fresh:
- Refrigerate: Store leftover hot chocolate in an airtight container in the refrigerator for up to 3 days. Refrigeration extends shelf life.
- Reheat: Reheat gently on the stovetop or in the microwave. Gentle reheating maintains texture.
- Do Not Freeze: Do not freeze hot chocolate, as the texture may change. Freezing alters the texture.
A Warm Conclusion: Sharing the Joy of Homemade Hot Chocolate
This Homemade Hot Chocolate is a testament to how easy and delicious a homemade beverage can be. It’s perfect for cozy nights, holiday gatherings, or any time you want a warm and comforting treat. So, gather your ingredients, follow the instructions, and get ready to enjoy this rich, velvety drink! Don’t be afraid to experiment with different variations and add your personal touch. And most importantly, have fun! We’d love to see your Homemade Hot Chocolate creations! Share your photos and any variations you try in the comments below. Happy hot chocolate making! What other quick, easy, and flavorful drinks would you like to see us explore? Are you interested in learning more about different beverage techniques or perhaps mastering other culinary skills? Let us know in the comments! We’re here to support you on your culinary journey, one delicious sip at a time. We can’t wait to hear about your culinary triumphs! Share your photos and tag us in your creations – we’re excited to see what you make! We’re confident that this recipe will become a regular part of your beverage repertoire. It’s a guaranteed way to bring some warm, chocolatey goodness to your table. Enjoy! And remember, beverage making doesn’t have to be complicated or intimidating. With a little planning and the right recipes, you can create delicious and impressive drinks that everyone will love.
This Homemade Hot Chocolate is a perfect example of that. So, get in the kitchen, get creative, and get ready to impress your friends and family (and yourself!) with your beverage skills! You’ve got this! This is a great recipe for anyone looking for quick and easy drinks, especially when you need a warm and comforting treat. You can also try using different types of milk to create a unique flavor profile. Or, add a dash of cinnamon or nutmeg for a warming spice. You can also experiment with different chocolate varieties. You can even add a touch of coffee or espresso powder for a mocha-inspired drink. For a richer texture, you can use heavy cream or half-and-half instead of milk. You can also add a swirl of peanut butter or Nutella for a decadent twist. Consider using a flavored syrup, such as hazelnut or caramel, to add a unique sweetness. You can even create a spiced hot chocolate by adding a pinch of cayenne pepper or chili powder. For a vegan version, use non-dairy chocolate chips and a plant-based milk alternative. If you prefer a less sweet hot chocolate, reduce the amount of sugar or use a sugar substitute. You can also add a dash of your favorite liqueur for an adult-friendly version. For a fun presentation, use a candy cane as a stirrer or rim the mug with chocolate and sprinkles. You can even make a big batch of hot chocolate and keep it warm in a slow cooker for parties or gatherings. And remember, the most important ingredient is your passion for creating warm and comforting drinks! So, have fun and enjoy the process of making your own Homemade Hot Chocolate.


